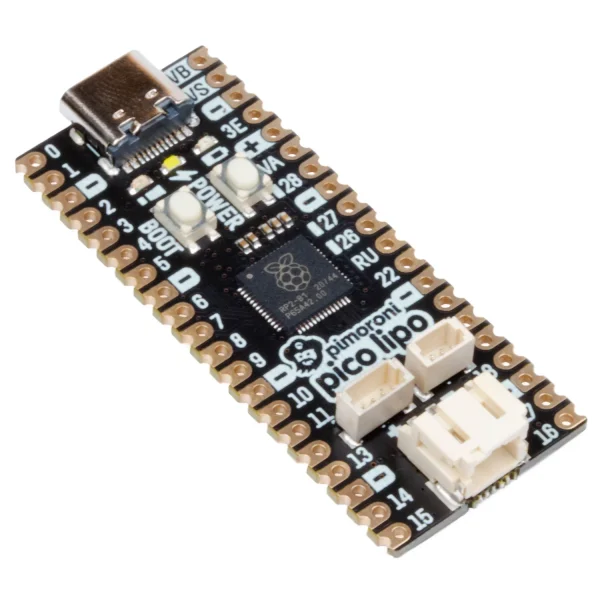

Pimoroni Pico LiPo
13,43 €
Informami quando l'articolo è disponibile.
- Description
- Additional information
Description
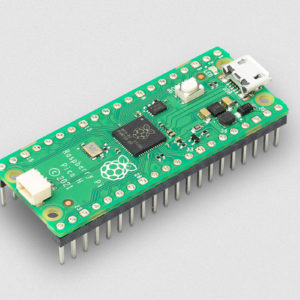
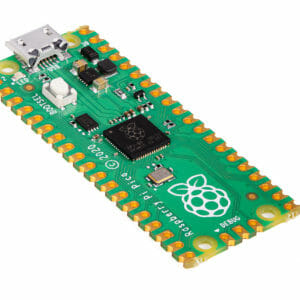
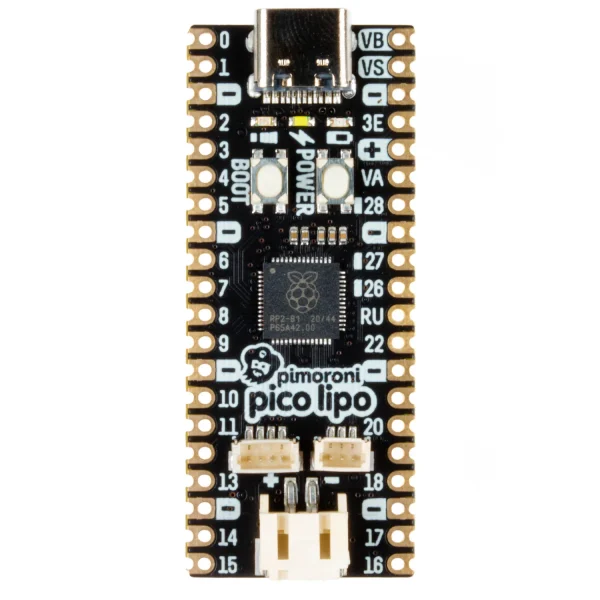
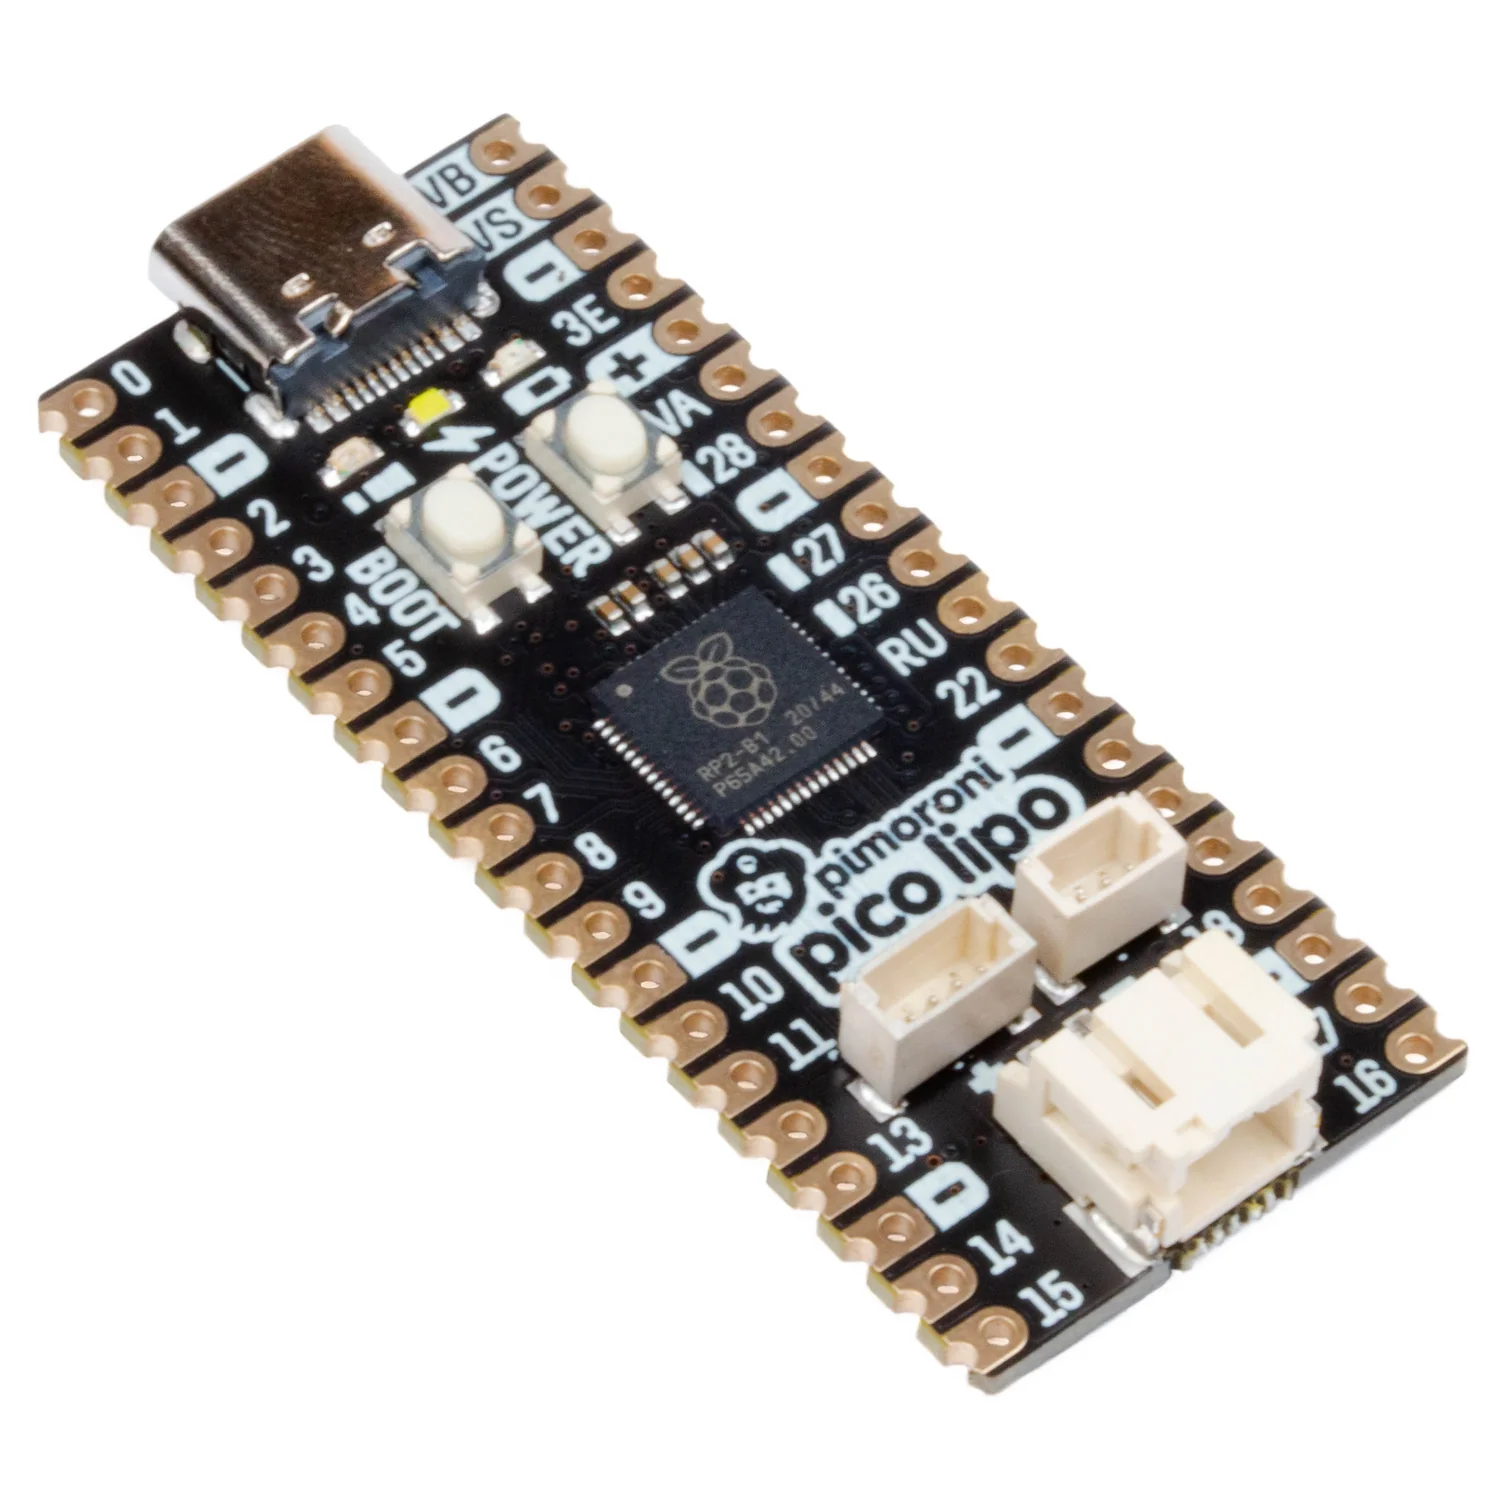
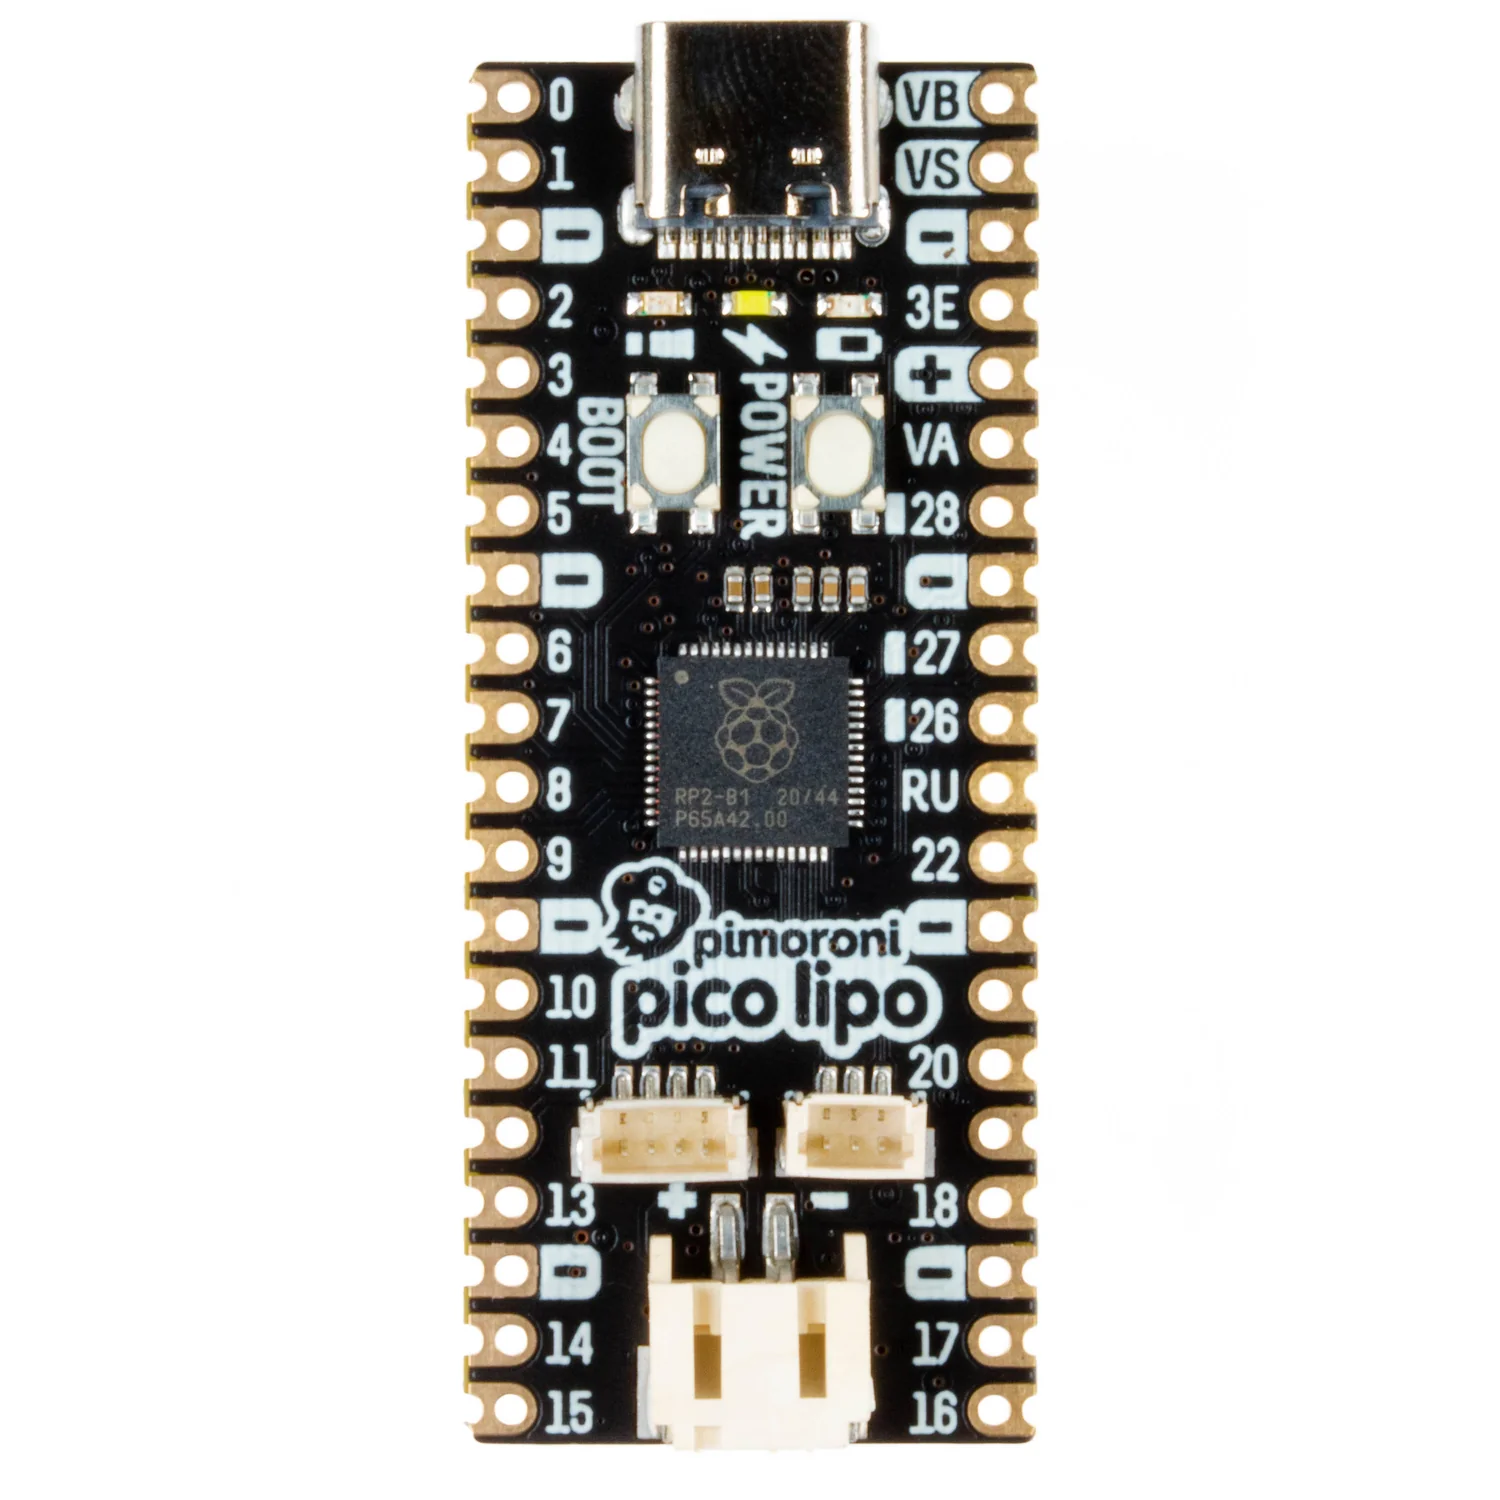
A top of the line Pirate-brand RP2040-powered microcontroller with lots of flash memory, USB-C, STEMMA QT/Qwiic and debug connectors… and built in LiPo charging!
We adore the versatility and value of Raspberry Pi Pico but since its release we’ve been hankering for a souped up RP2040 board with all the extras baked in. With Pimoroni Pico boards, we’ve tried to cram in as much extra functionality as we possibly can whilst keeping to the Pico footprint to maintain compatibility with existing Pico addons.
Pimoroni Pico LiPo is powered and programmable via USB-C and comes with a choice of either 4 or 16MB of QSPI (XiP) flash. We’ve made it super easy to connect to things solderlessly too – there’s a Qwiic/STEMMA QTconnector so you can hook up a whole host of different sensors and breakouts, and a debug connector for if you want to do your programming using a SWD debugger. Because we love buttons at Pirate HQ, there’s an on/off button and a BOOTSEL button, which can also be used as a user switch.
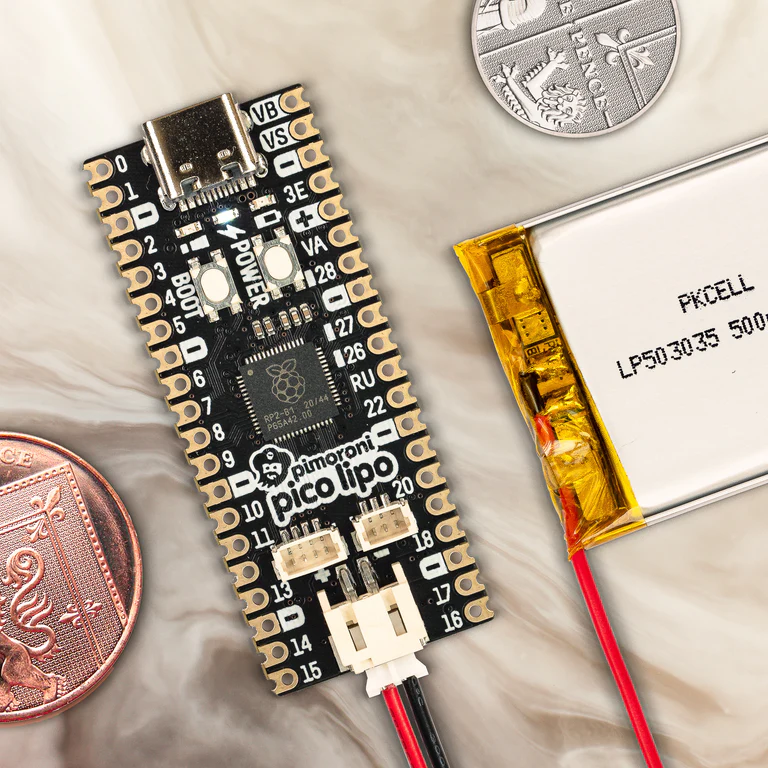
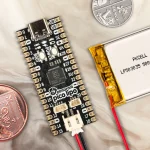
Pimoroni Pico LiPo also has onboard LiPo/LiIon battery management – the inbuilt charging circuitry means charging your battery is as easy as plugging your Pimoroni Pico Lipo in via USB. There’s two indicator LEDs connected to the battery circuit to keep you informed of on/off state and charging status and it’s compatible with any of our LiPo, LiIon and high capacity LiPo batteries.
Programmable with C++, MicroPython or CircuitPython, Pimoroni Pico LiPo is the perfect powerhouse for your portable projects.
Safety note! You should only use Pimoroni Pico LiPo with LiPo or LiIon batteries, and you should make sure that any project involving LiPos is sufficiently protected from being dented, bent, punctured or crushed.
Features
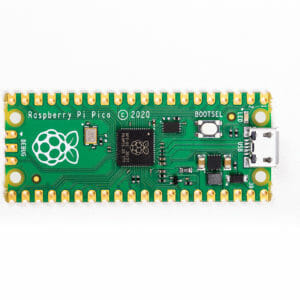
- Powered by RP2040
- Dual ARM Cortex M0+ running at up to 133Mhz
- 264kB of SRAM
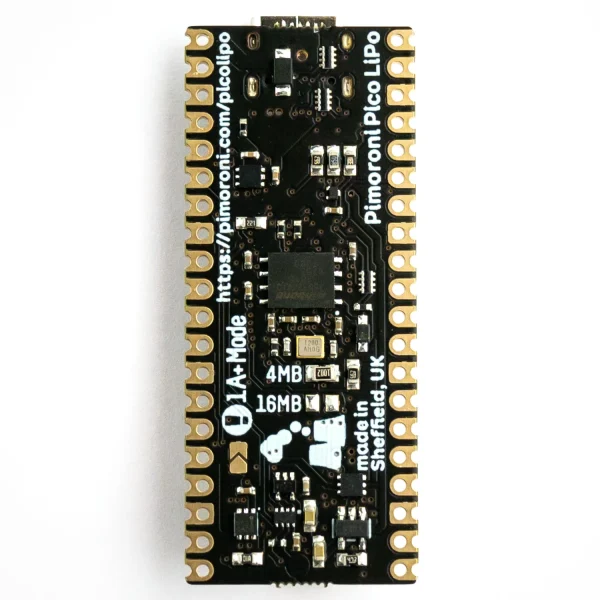
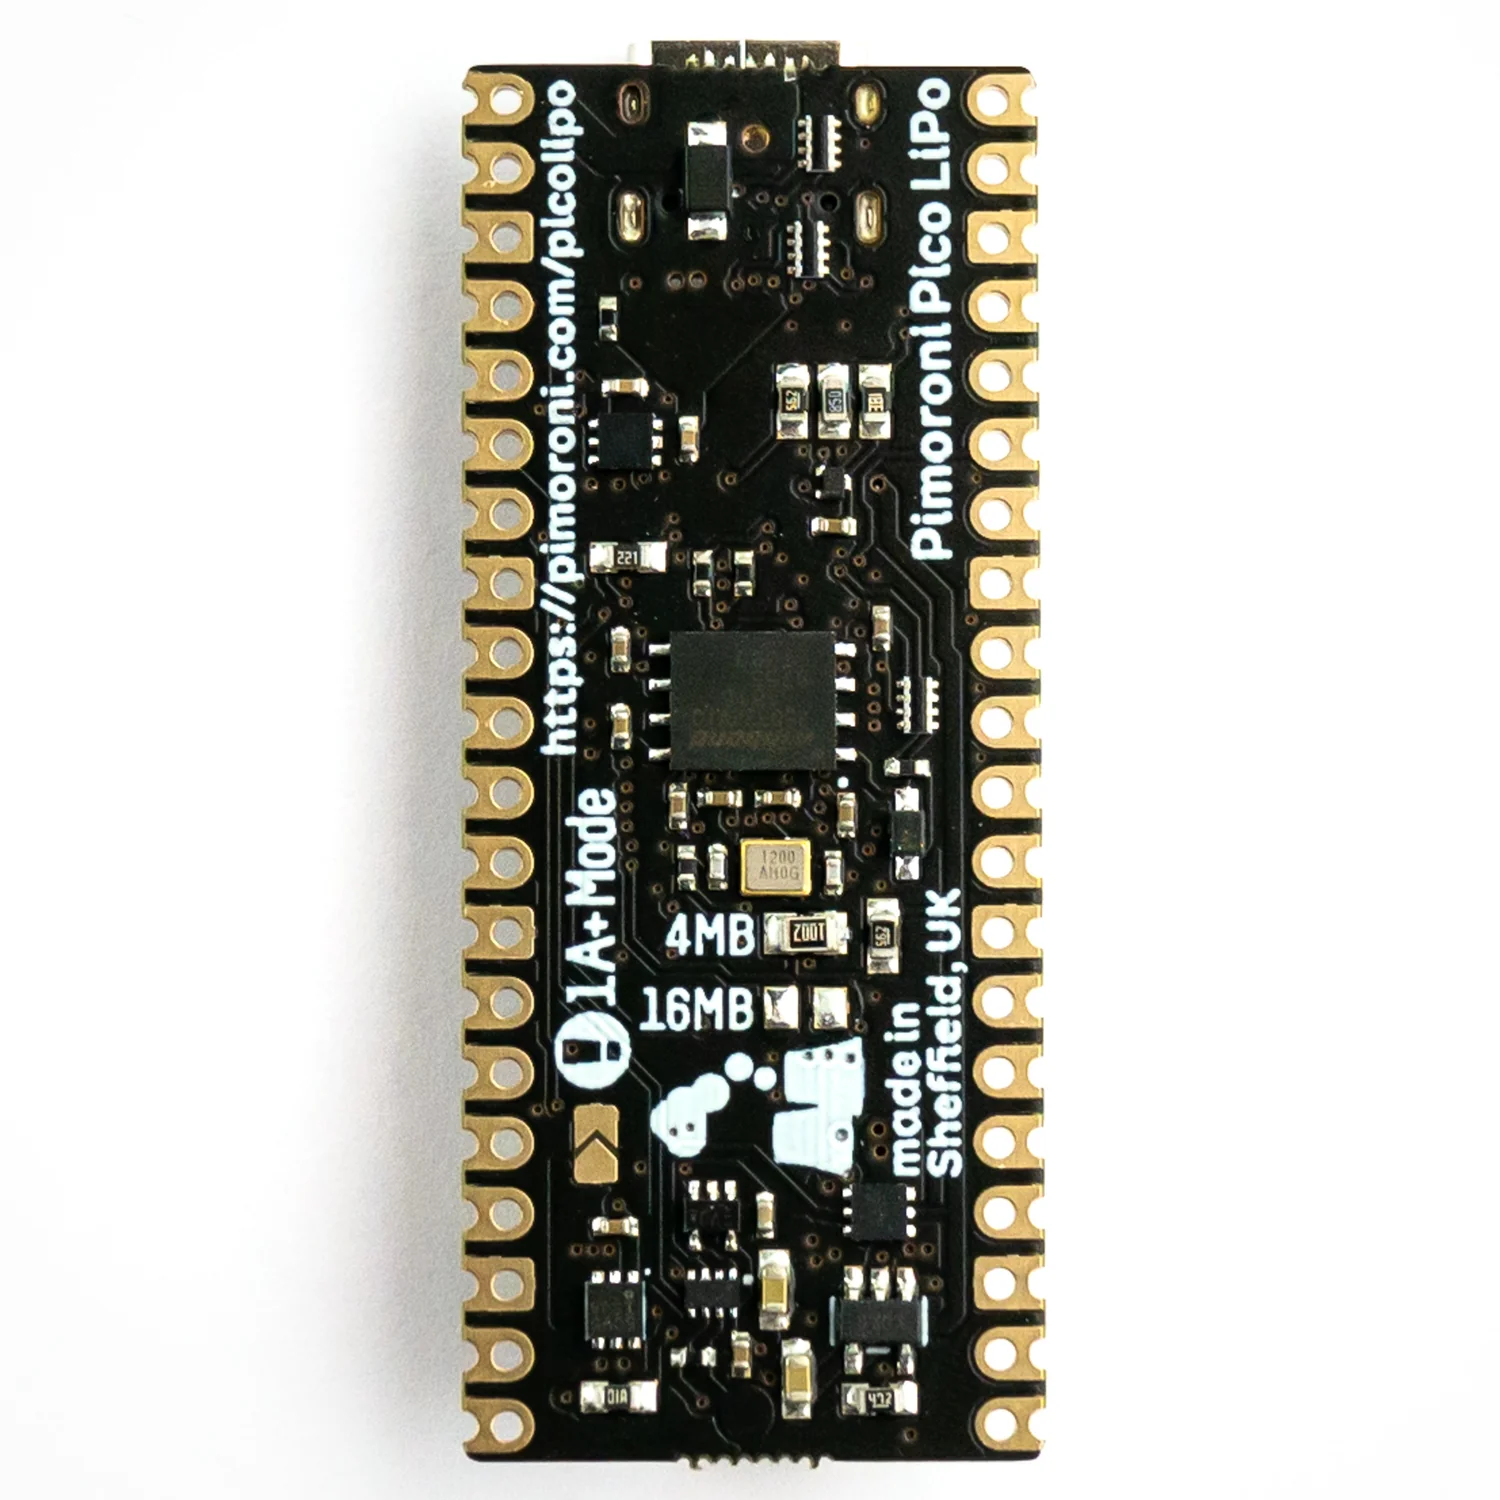
- 4MB/16MB of QSPI flash supporting XiP
- MCP73831 charger with 215mA charging current (datasheet)
- XB6096I2S battery protector (datasheet)
- USB-C connector for power, programming, and data transfer
- 4 pin Qw-ST (Qwiic / STEMMA QT) connector
- 3 pin debug connector (JST-SH)*
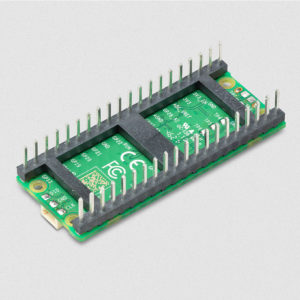
- 2-pole JST PH battery connector, with polarity marked on the board
- Switch for basic input (doubles up as DFU select on boot)
- Power button
- Power, charging and user LED indicators
- On-board 3V3 regulator (max regulator current output 600mA)
- Input voltage range 3V – 5.5V
- Compatible with Raspberry Pi Pico add-ons
- Measurements: approx 53mm x 21mm x 8mm (L x W x H, including connectors)
- Schematic
Batteries, cables and headers are not included – check out the extras tab!
Getting Started
Pimoroni Pico boards are firmware agnostic! You can program them with C/C++ or MicroPython in the same way as you would a Raspberry Pi Pico. You can find (lots) more information on how to do that (as well as download links for the firmware/SDK) on the RP2040 landing page.
If you’re planning on using your Pimoroni Pico LiPo with our packs or bases, you’ll want our custom MicroPython image:
You can also use CircuitPython on your Pimoroni Pico LiPo! CircuitPython is an easy to use, well-established ecosystem with lots of example code and drivers for interfacing with different kinds of hardware.
- Download CircuitPython for Pimoroni Pico LiPo: (4MB) (16MB)
- Getting started with CircuitPython guide
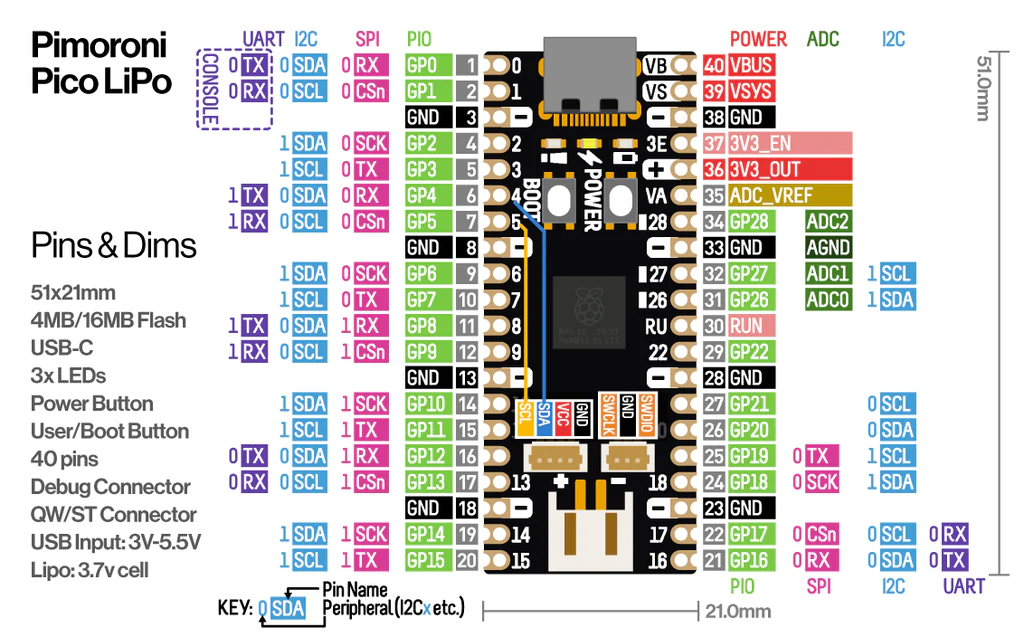
Pinout

Other pinout-related things of note:
- There’s a handy interactive pinout for this board at pico.pinout.xyz.
- The user LED is wired to GP25, just like on an ordinary Pico. You can blink it in exactly the same way!
- As well as being useful for putting your Pimoroni Pico LiPo into bootloader mode, you can also use the BOOT button as a user button. It’s wired to GP23 and active low.
- You can read GP29 to monitor the voltage of the battery (and use that measurement to calculate how much charge is left in it). This example shows you how to do that in MicroPython!
Notes
- The power button can also be used as a reset button, yay! Just double press it to cut and reinstate the power whilst holding down the BOOTSEL button on the Pimoroni Pico LiPo to get into bootloader mode, with no plugging and unplugging of cables required.
- * If you’re planning on connecting the debug connector on Pimoroni Pico LiPo to a Raspberry Pi Debug Probe note that the SWCLK and SWDIO pins are reversed (so the cable that comes with the probe won’t work without modification).
Additional information
| BRAND | Pimoroni |
|---|---|
| MAINBOARD | Raspberry Pi Pico |