

Pico RGB Keypad Base
27,38 €
Informami quando l'articolo è disponibile.
- Description
- Additional information
Description
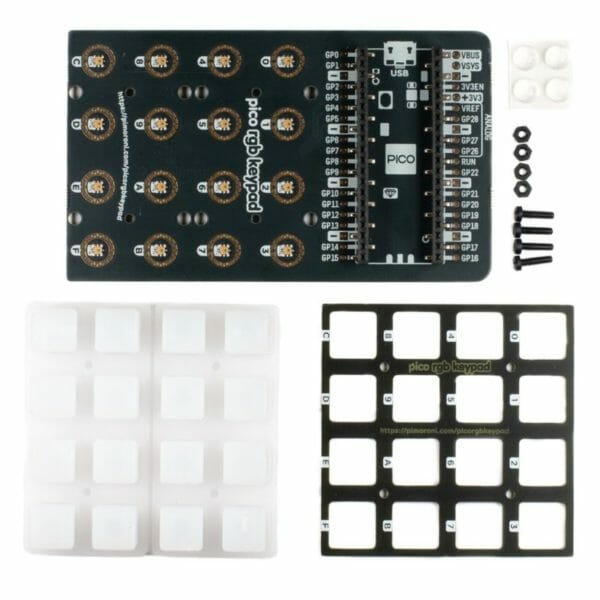
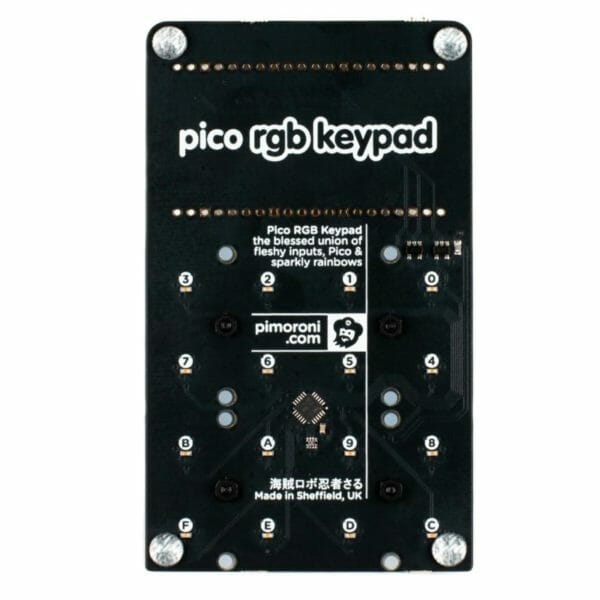
Connect a glorious, squishy, 4×4 rainbow-illuminated keypad to your Raspberry Pi Pico – perfect for making a custom USB input device!
Scoring very highly in the Pimoroni “things on our desk that make people say ooo” rankings, RGB Keypad Base equips a Pico with an eye-catching 4×4 silicone keypad, fully loaded with addressable APA102 LEDs so that each key can be illuminated in any colour that your little unicorn heart desires. It's all mounted on a sturdy base with rubber feet to keep it nice and level, with a handily labelled landing area for your Pico. We've broken out the full set of Pico pins to make it easy to connect up other hardware as well.
Connect your Pico project to another computer via USB for a beautiful macro keypad or a tidy midi controller. RGB Keypad Base would also work well in any project that would benefit from having fancy light up buttons as inputs – a code protected door lock perhaps, a disco dance floor for your fingers or a Simon Says style game with which to taunt your friends.
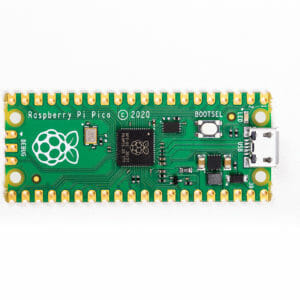
A Raspberry Pi Pico is not included – click here if you'd like to buy one!
Your Pico will need to have male headers soldered to it (with the pins pointing downwards) to attach to our add-on boards.
Features
4×4 silicone keypad with conductive buttons
16 x APA102 addressable RGB LEDs (datasheet)
Keypad buttons are connected via a TCA9555 IO expander (I2C address: 0x20).
Labelled landing area with female headers for attaching your Pico, with broken out pins.
Compatible with Raspberry Pi Pico.
Some assembly required!
No soldering required (as long as your Pico has header pins attached).
Dimensions: approx 60mm x 101mm x 16mm (L x W x H, assembled)
C/C++ and MicroPython libraries
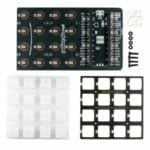
Includes
1x Pico RGB Keypad Base
1x (reversible) square retainer plate
1x silicone keypad
M2 8mm bolts and nuts
4x rubber feet
Getting started
Turn the larger board over, and attach the little rubber feet to the paw print spaces on the bottom.
Flip it over again, and pop the silicone keypad over the buttons so the tabs fit into the holes. You can then slot the retainer plate over the top of the keys, matching up the key markings with those on the base board. You can install the retainer plate either way up, depending on whether you prefer it patterned or plain!
Poke the M2 bolts through the holes in the mounting plate (from the top) and screw on the nuts to keep all the layers sandwiched together. The bolts only need to be tightened up enough to keep the layers in place – if you find that the keys are hard to push or that the silicone layer is bulging out of the sides you might want to slacken them off a bit.
The labels on the base will show you which way round to attach your Pico – just match up the USB port to the markings on the board.
The easiest way to get started with our Pico add-ons is by downloading and copying our custom MicroPython firmware to your Pico, it includes all the libraries you'll need. Click here for our beginner friendly tutorial!
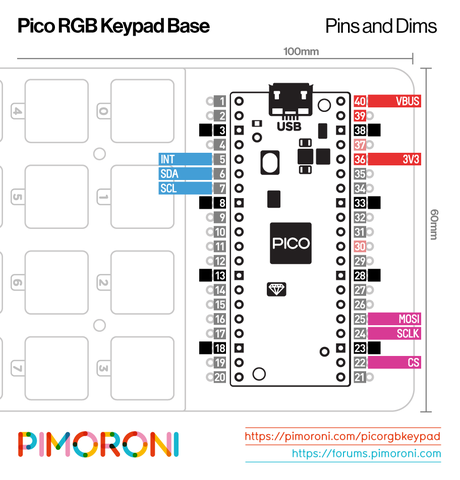
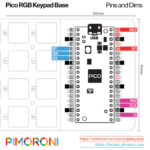
Pinout
Additional information
| BRAND | Pimoroni |
|---|---|
| MAINBOARD | Raspberry Pi Pico |